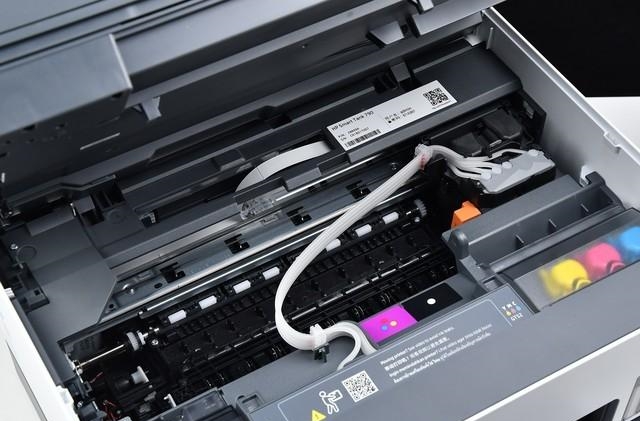
If you’ve ever produced streaky or faded prints, you know the frustration of a dirty printhead. As someone who has worked in the printer and copier accessories field for many years, I can tell you that a clean printhead is critical to achieving optimal print quality. So let’s dive into the ultimate guide to cleaning your printhead to ensure your printer runs smoothly and efficiently.
Why should we clean the print head?
Before we get into the nitty-gritty of cleaning, let’s talk about why it’s important. The printhead is the part that transfers ink to the paper. Over time, the ink dries out and clogs the nozzles, resulting in poor print quality. Regular cleaning helps maintain the performance of your printer and extend its life.
Signs Your Printhead Needs Cleaning. Here are some telltale signs:
1. If your prints have streaks or lines, it’s a clear indication that some of the nozzles are clogged.
2. If your color appears to be fading or inconsistent, it may need cleaning.
3. Error Message: Some printers will warn you when the printhead needs attention.
Cleaning method
Now that you know why and when to clean your printhead, let’s explore the methods you can use. There are two main methods: manual cleaning and using the printer’s built-in cleaning function.
1. Built-in cleaning function
Most modern printers have built-in cleaning capabilities. How to use:
Access Menu. Navigate to the printer’s Setup or Maintenance menu.
Select Cleaning. Look for the option labeled “Printhead Cleaning” or “Nozzle Check”.
FOLLOW INSTRUCTIONS: The printer will guide you through the entire process. It usually takes a few minutes and may use some ink, so keep that in mind.
2. Manual cleaning
If the built-in features aren’t working, you may need to roll up your sleeves and do some manual cleaning. Here’s a step-by-step guide:
Gather Supplies: You will need distilled water, a lint-free cloth, and a syringe or dropper.
Removing the Printhead: Consult your printer manual for instructions on how to safely remove the printhead.
Soak Nozzle: Soak a cloth in distilled water and gently wipe the nozzle. If they’re particularly clogged, you can use a syringe to put a few drops of distilled water directly onto the nozzle.
LET: Let the print head soak for about 10-15 minutes to loosen the dried ink.
Rinse and dry: Wipe the nozzle again with a clean, dry cloth. Make sure everything is dry before reassembling.
How often should you clean the printhead? It depends on usage, but a good rule of thumb is to clean it every few months or whenever you notice print quality issues. Using high-quality ink helps reduce clogging and improves overall print quality. When not in use, cover the printer to prevent dust and debris from settling on the printhead.
Cleaning the printhead doesn’t have to be a difficult task. With a little know-how and the right approach, you can keep your printer in tip-top shape and enjoy vibrant, crisp prints.
Honhai Technology is a leading supplier of printer accessories. Printhead for Epson Stylus Pro 4880 7880 9880 DX5 F187000, Epson L111 L120 L210 L220, Epson 1390 1400 1410 1430 R270 R390, Epson FX890 FX2175 FX2190, Epson L800 L801 L850 L805 R290 R280, Epson LX-310 LX-350, Epson Stylus Pro 7700 9700 9910 7910, Epson L800 L801 L850 L805 R290 R280 R285. These are our popular products. If you are interested, please feel free to contact our sales at
sales8@copierconsumables.com,
sales9@copierconsumables.com,
doris@copierconsumables.com,
jessie@copierconsumables.com,
chris@copierconsumables.com,
info@copierconsumables.com.
Post time: Oct-08-2024


